


Specialty Answering Service is all about helping to create a connection between your customers and your company, while you focus on running your business. The way our agents communicate with your customers can be adjusted quickly and conveniently through our web based call center scripting platform! Our scripting platform is available to all of our clients, but with so many configuration options, diving head first into scripting can seem scary! However, with SAS’s flexible and user-friendly scripting tools, it doesn’t have to be.
In this tutorial, we’re going to tackle the basics of building your call script and making script adjustments with SAS.
- Part 1: Getting Started with Script Building
- Part 2: Adding a Closing to your Script
- Part 3: Assembling Your Script
- Part 4: Previewing and Testing
Part 1: Starting Your Script With Block and Section Building
Blocks are tools the operators use to collect information from the caller. If you need a breakdown of the different Block options, you can check out this article. The Sections act as the glue that holds the Blocks together. Sections determine the order that your script Blocks appear to the operators and also determine what happens from page to page.
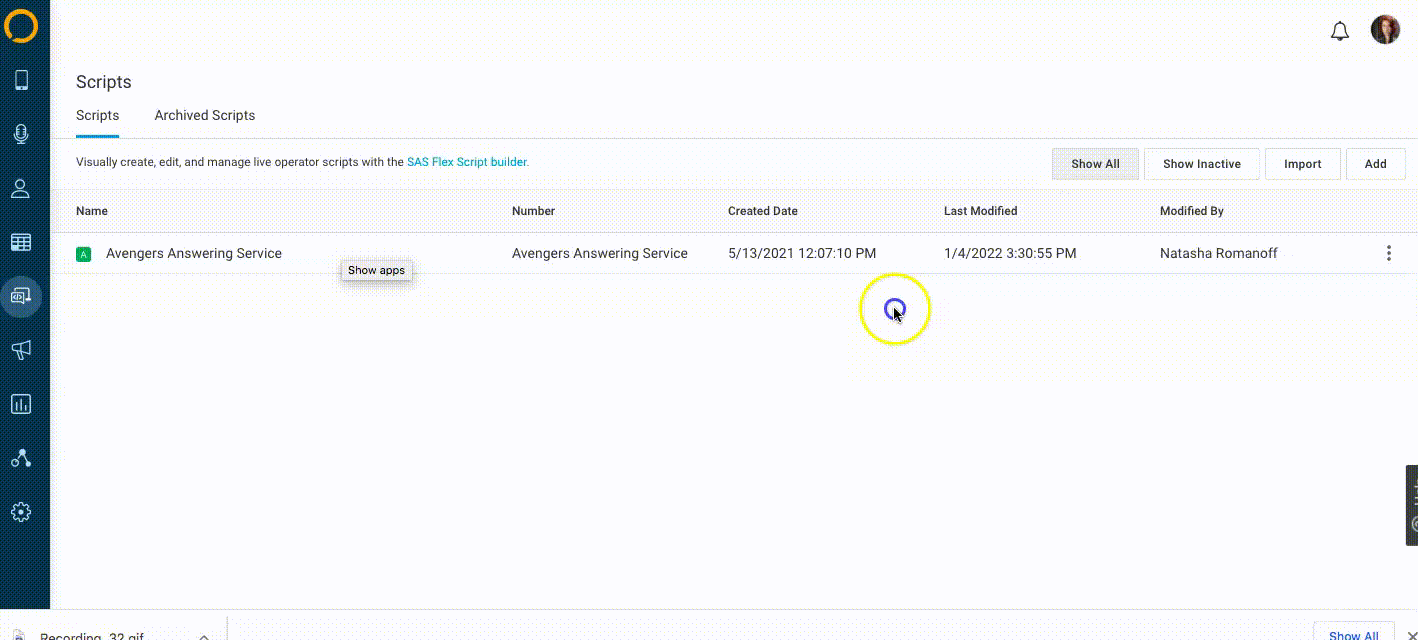
From within your SAS Flex portal, navigate to the Builder icon on the left hand side. From the drop down choices, select Scripts.
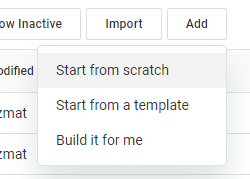
From the Scripts page, click the Add button, then choose Start from Scratch and add a name to your script. Don’t worry, this name can be changed at any point if you’re not married to it.
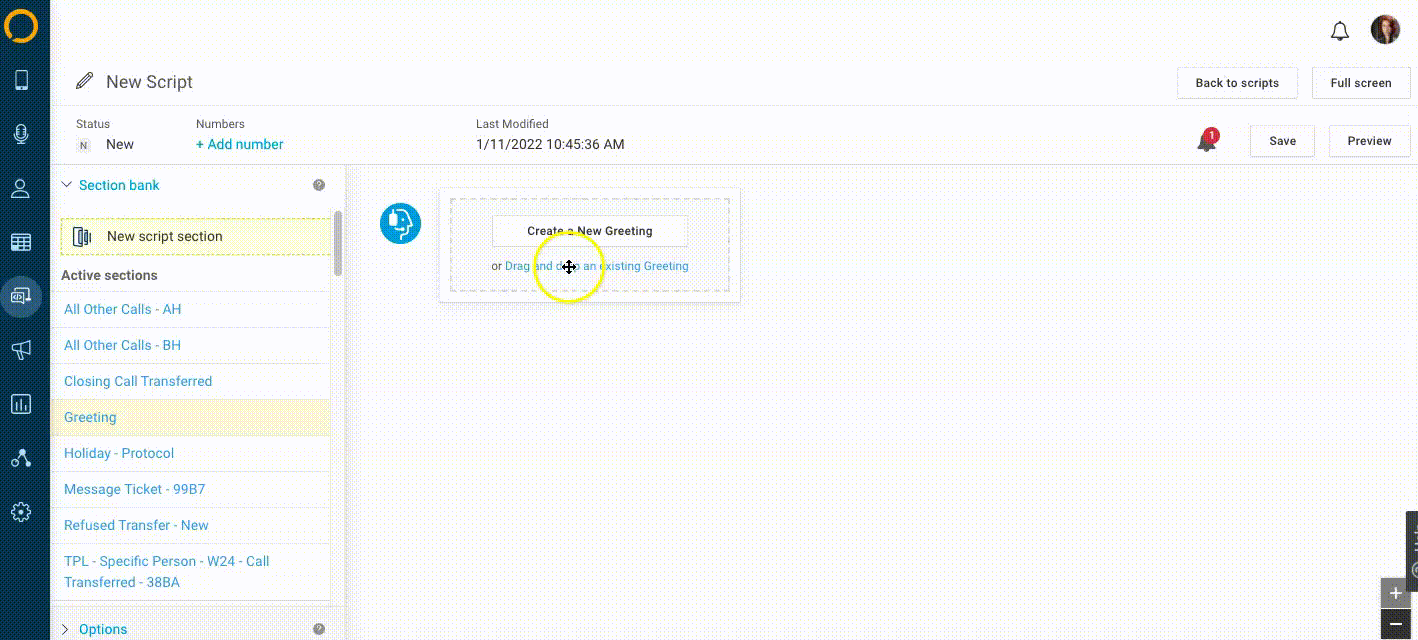
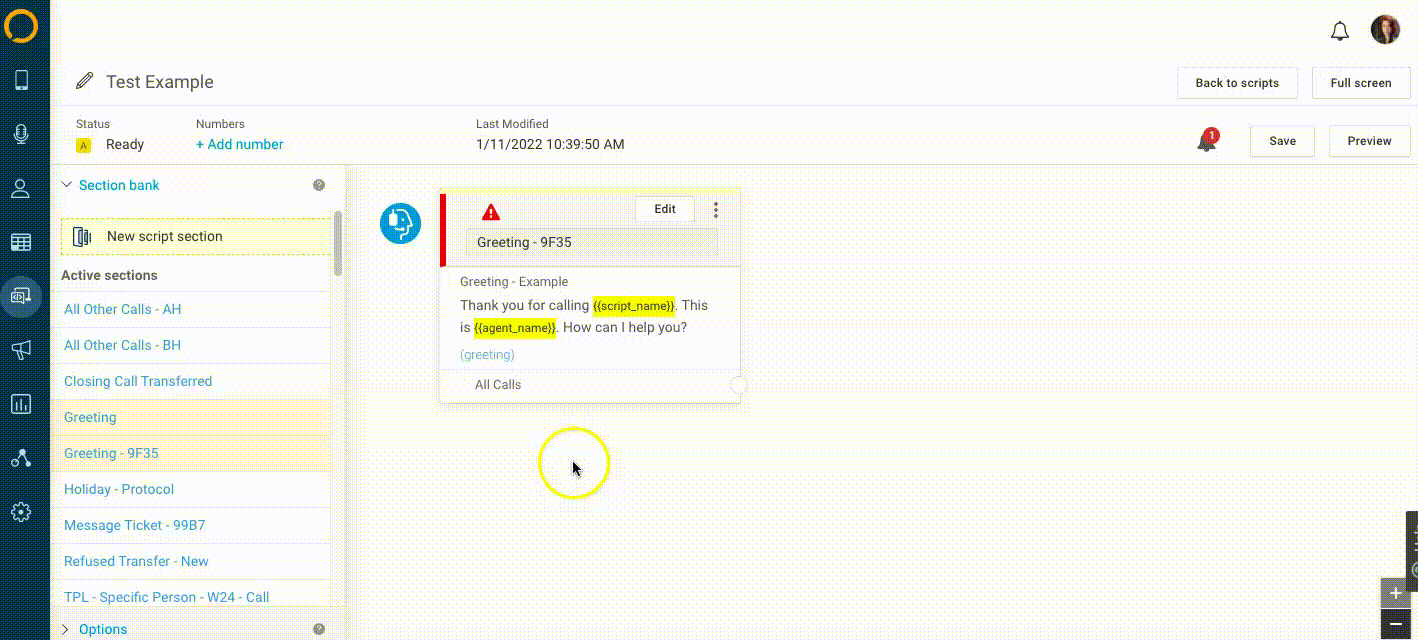
Every script needs to start with a Greeting. It’s how our agents say ‘Hello’ to your callers. Once you are on the Script workflow page, click Create a New Greeting to build your Greeting Section and Block. In this window you will see three options at the top; Edit, Logic and Field.
- The Edit section allows you to choose a Greeting Type (either all day greeting or business hours) and allows you to customize the operator text.
- The Logic section allows you to add the different path options based on your needs – path options are what the operator selects based on what the caller is calling about. For example, you may want to add an option for Calling for Service and one for Calling for Support. In our example, we’ll just add one for All Calls, meaning no matter what the caller says, the agent would click this option to progress through your script.
- The Field section will determine how you will identify your newly created Block in the workflow. In our example we’ve named ours ‘Greeting – Example’. You can name this whatever you’d like as this is not shown to the operators.
When you are finished, click Save.
Once your greeting is created, drag and drop the New Script Section into the script and select Add Script Blocks. This will take you to the pop up menu to create your Blocks.
For this tutorial, we are going to be building a Basic Message Script where we collect the caller’s Name, Phone Number, Address, Email, and the Message. We’ll start by clicking Add new script block and selecting the Full Name block.
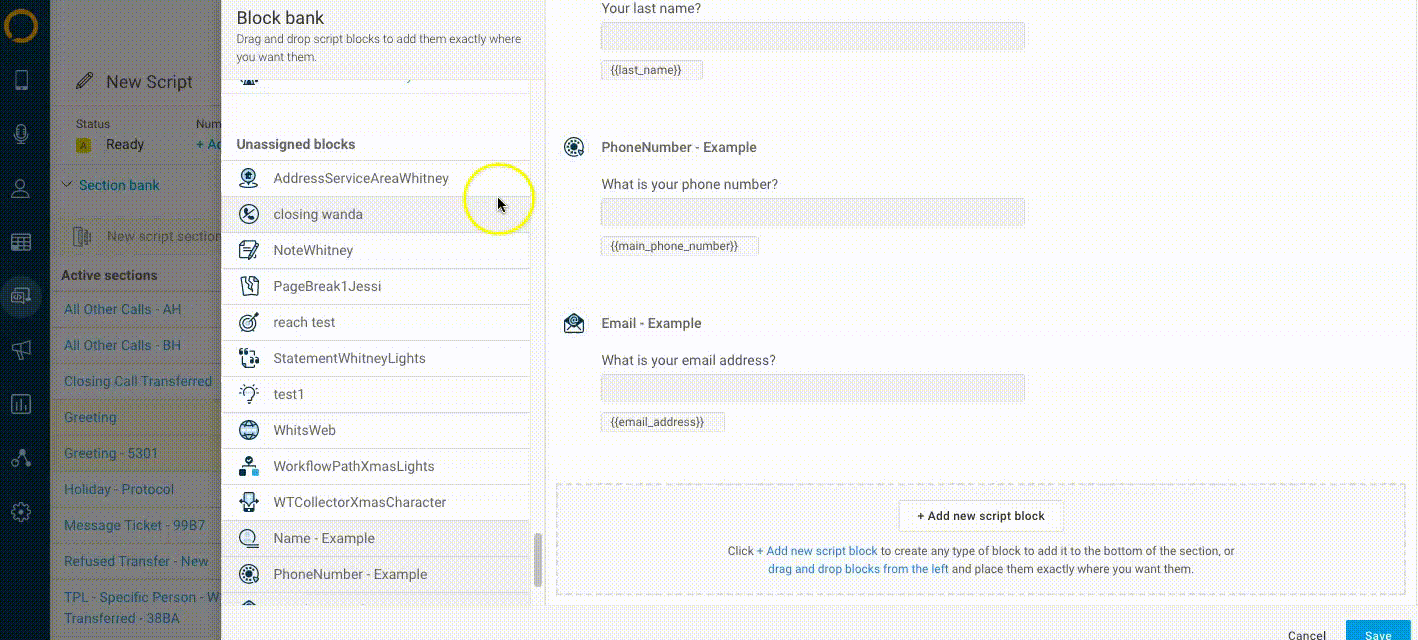
Once you have your selected Block, you will see two options at the top Edit and Field.
- The Edit section allows you to toggle different elements of your Blocks. For example, if you only need First Name and Last Name, but not Middle Name, you can activate those two options only by toggling the gray switch on the left hand side. Once a field has been activated, you can customize the Operator text accordingly.
- The Field section will determine how you will identify your newly created Block. We suggest that this section consist of the Block type and followed by where in the script the Block is located. For example, if you are taking a message, we recommend the Block be called something like “Name – Message”.
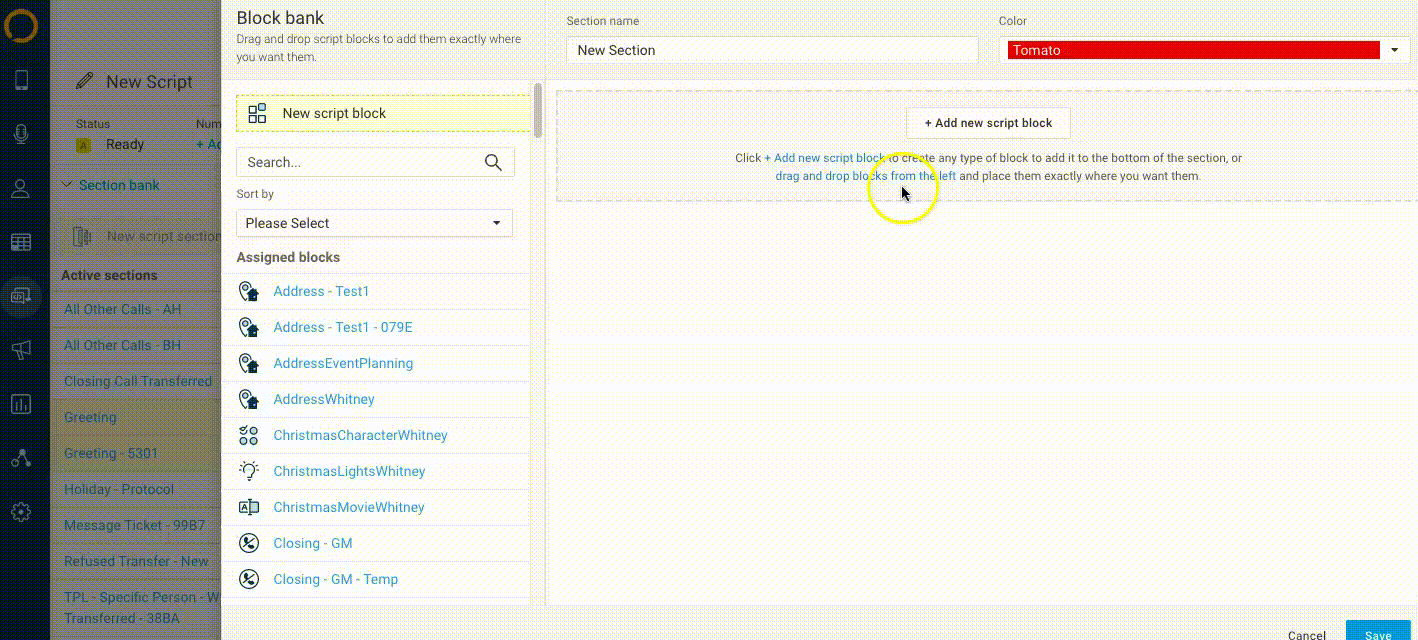
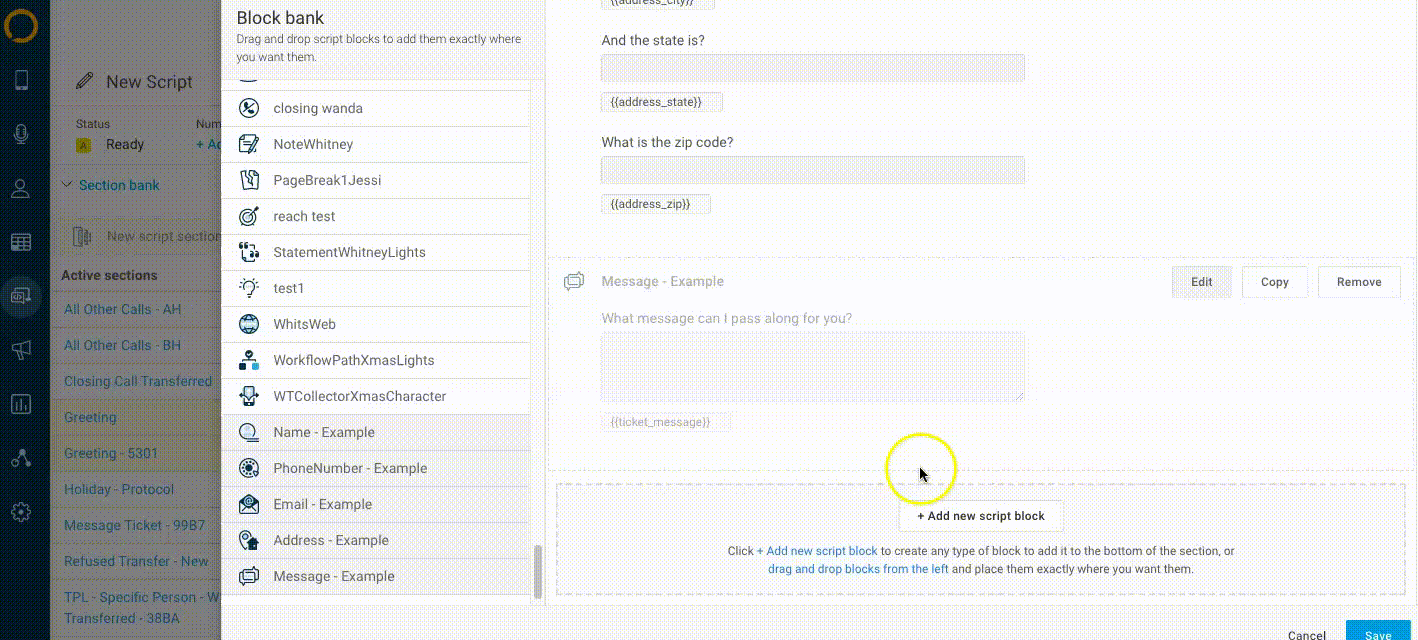
Continue adding your scripting Blocks as needed. If you’d like to use Blocks that have already been created, you can find those listed under the area labelled Unassigned blocks. Scroll down to the bottom of the Block Bank to locate them, then drag and drop them into the Section.
Part 2: Adding a Closing to your Script
Once the main components of your Section have been added, you will need to add a Closing Block to complete the Section. There are multiple Closing Blocks to choose from (Reach, Cold Transfer, Closing (Collector) and Closing), but in this example we’ll just choose Closing.
Once you have selected the block type you’ll need, you’ll see three options at the top; Edit, Options and Field.
- The Edit section allows you to choose a Closing Type (either all day greeting or business hours) and allows you to customize the operator text.
- The Options section will allow you to select an Outcome (how the call is labeled in your call log), choose a Profile (where the message is being sent) and add an integration configuration (optional).
- The Field section will determine how you will identify your newly created Block. In our example we’ve named ours Closing – Example.
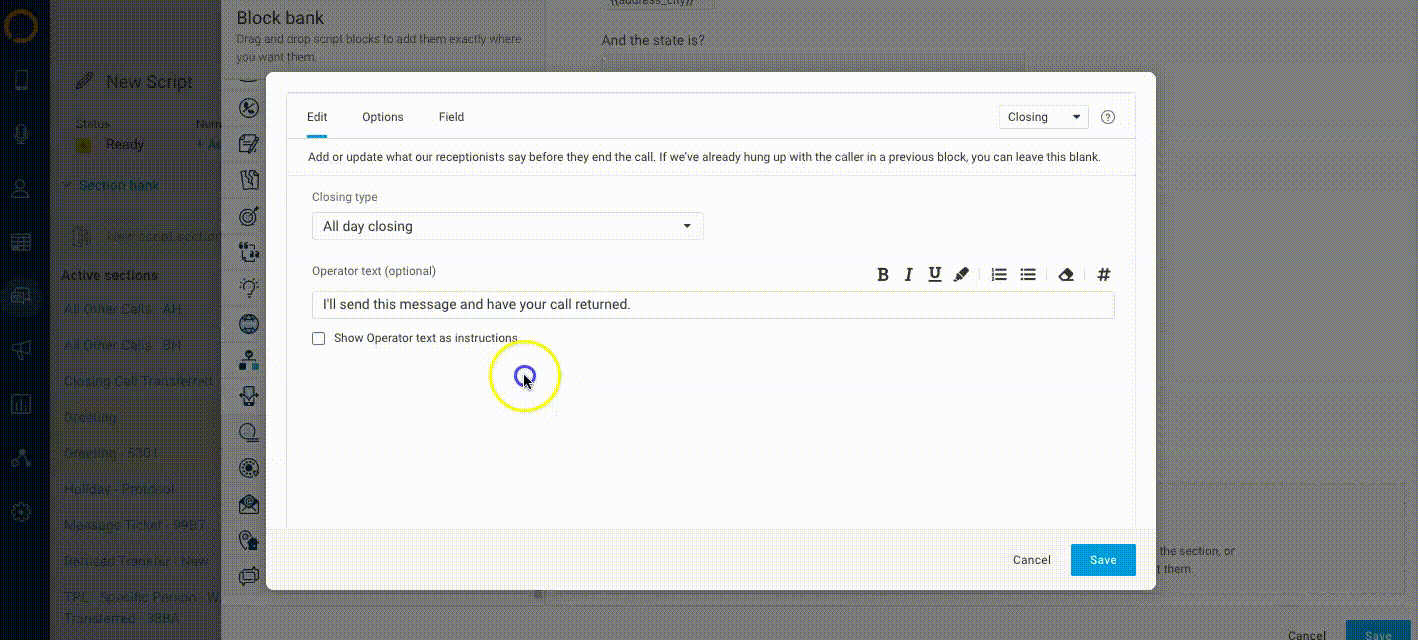
When you are finished, click Save to save your block, then click Save to save the configuration of your Section.
Part 3: Assembling your Script
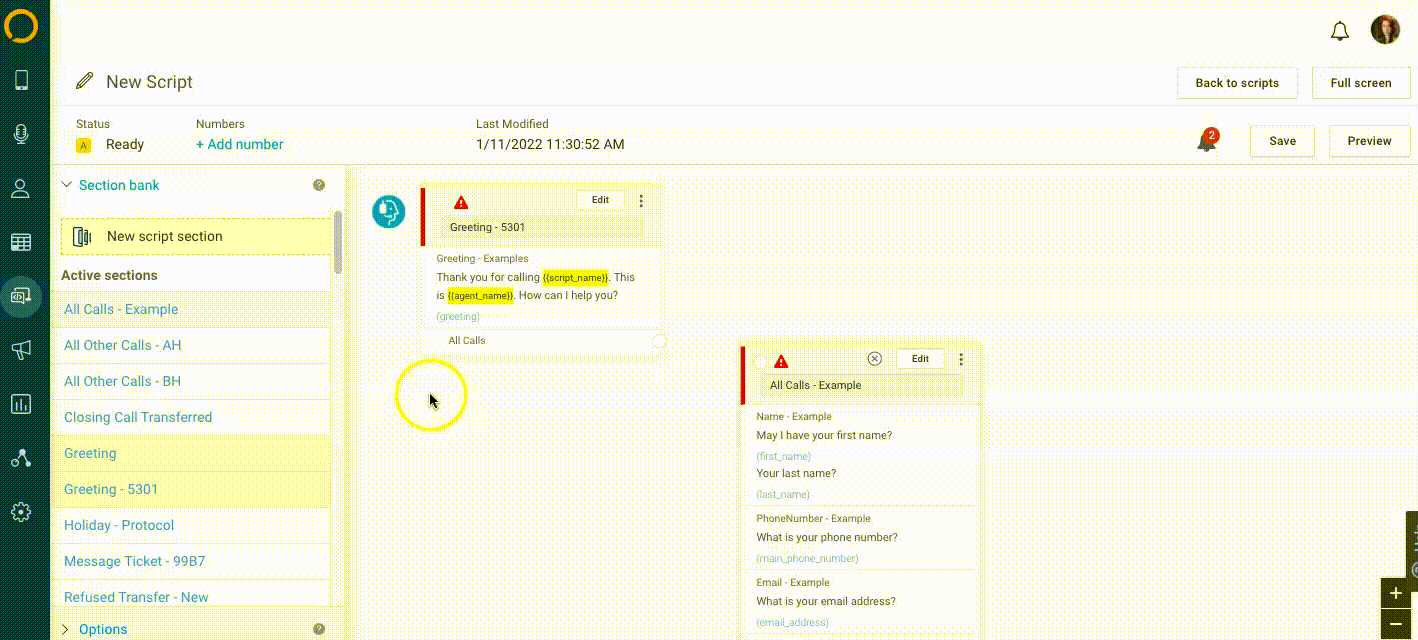
Now that we’ve got our Blocks and Sections configured, it’s time to put it all together! Back on the Script Workflow page, you’ll see a red alert icon on your Greeting Section as well as any newly created Sections you’ve placed down.
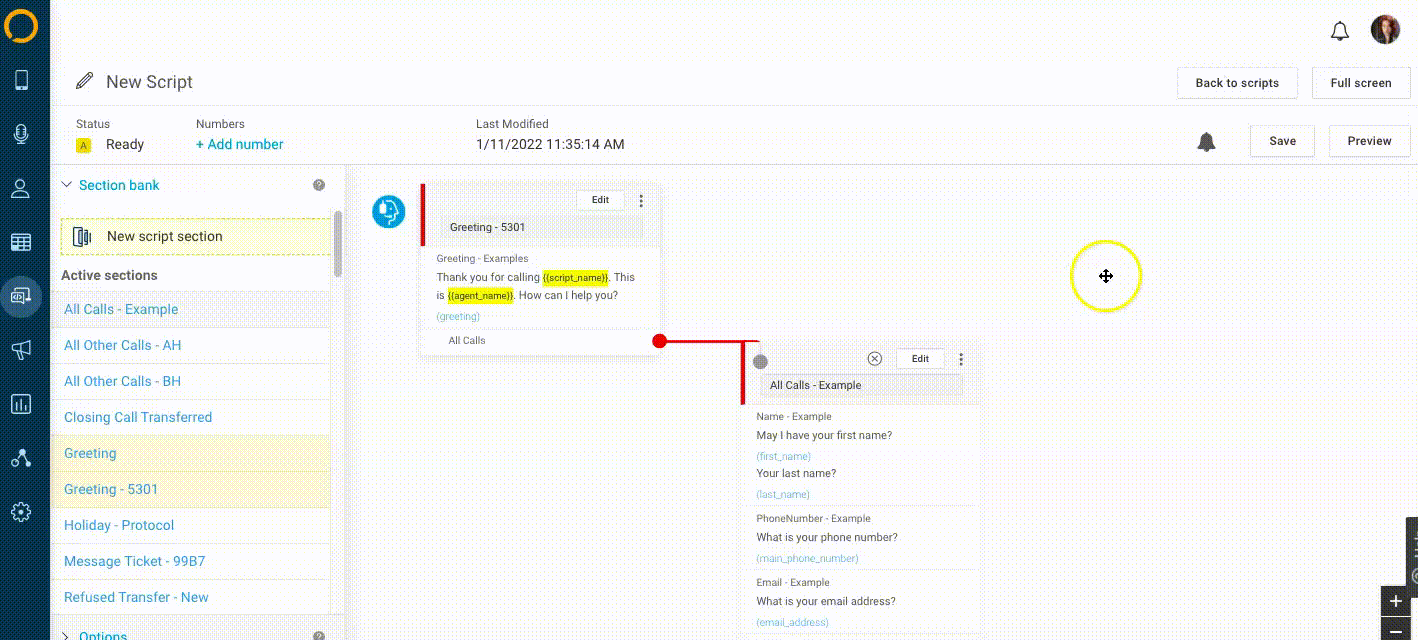
To connect the Section(s) with your Greeting, click on the empty circle on the Greeting Section, and drag it over to the empty circle of your Message Section, as shown below.
If you added multiple path options in your Greeting and created different Sections, you’ll need to link each Section up accordingly. When you are finished linking up your Sections, click Save.
Part 4: Previewing and Testing
It’s time to see our work in action and test to make sure everything works correctly. If you’re on the Script Workflow page, click the Preview button in the upper right-hand corner. Clicking Preview will open your script in a new window and show you the operator view of your script. You can use this operator view to send a test message by filling out the fields, then clicking Save the Call.
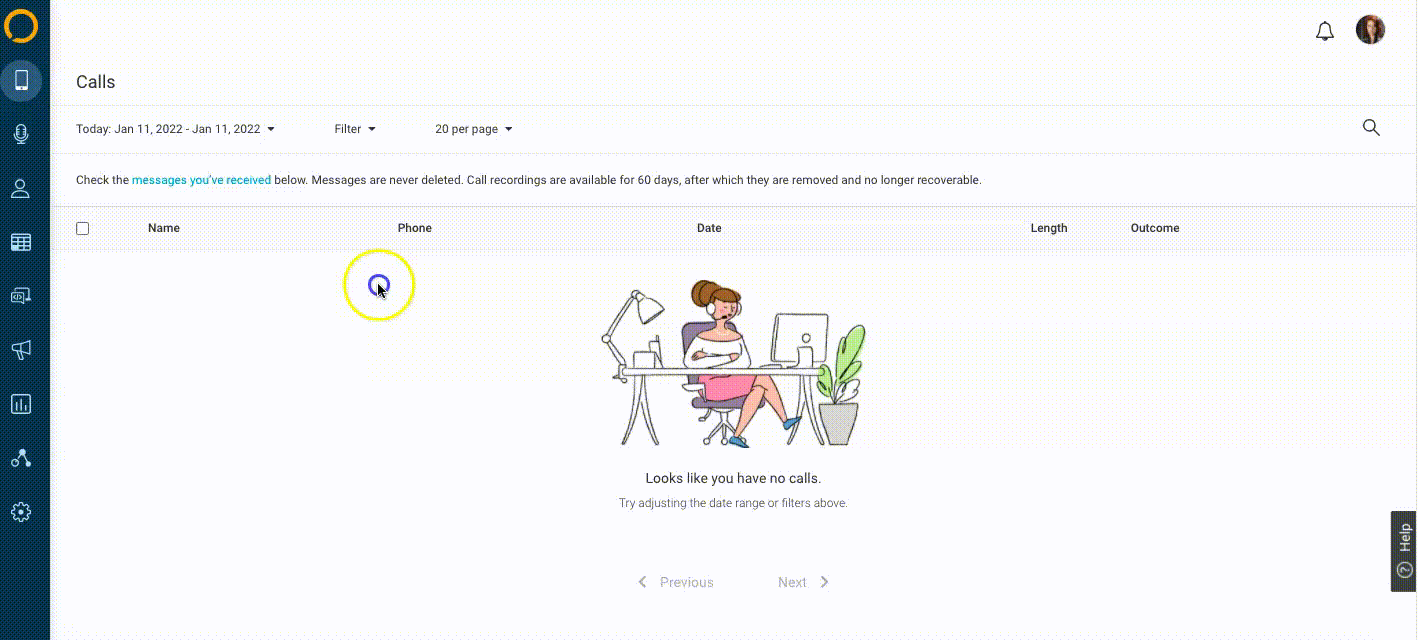
Once your test message has been saved, you can view the message from your Call Log, as shown below. From the Call Details page, you can add Notes, check the caller’s History, and even see a Timeline of the call including where the message was sent after the call was saved.
Congratulations on learning how to build a simple script! Building Blocks and Sections is as easy as 1, 2 ,3! If you’re still unsure, we recommend trying this out on a copy of your existing script or adding a brand new test script to try features out. If you want extra help, there are a number of resources on script building in our helpdesk you may want to review to learn more:
- Configuring Script Options
- Personalizing your SAS Script
- How to Build a Script with Logic Options
- Working with Page Breaks
We can’t wait to see what you build!